
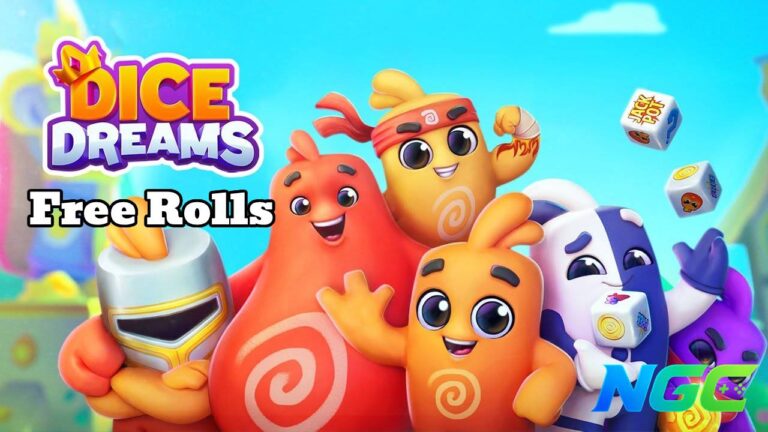
Dice Dreams is a colorful social board game where every roll can bring coins, rewards, or an opportunity to challenge another player. Use the resources you earn to repair and upgrade themed kingdoms, unlock new boards, and continue your journey alongside the cheerful Peons.
All Working Dice Dreams Rewards
Learn more about why a reward may not work
Please let us know about any new or missing rewards using the form below.Thanks for helping keep NewGameCodes up to date and accurate!
How to Get More Rewards for Dice Dreams?
The easiest way to find new rewards is to bookmark this page and visit it from time to time. We keep this list updated with the latest working rewards as soon as they become available.
You can also follow the game on Facebook and Discord, where developers may post new rewards during events, updates, and giveaways.
Rewards Change History
Latest updates for this pageHow to Use Rewards in Dice Dreams?
Follow these steps to use working rewards and claim your rewards.Expired rewards
These rewards have expired and no longer workWhen will new rewards for Dice Dreams be released?
Our prediction based on past updatesGuide & Tips for Dice Dreams
Helpful tips to progress faster, spend resources wisely, and avoid common mistakes.Use a low or moderate multiplier for routine rolling, especially when you have only a few hundred rolls. A higher multiplier mainly processes several rolls at once: a x25 result gives roughly 25 times the normal reward but also consumes 25 rolls. It does not guarantee that you will land on an Attack, Steal, event symbol, or free-roll result. With a lower multiplier, you get more individual attempts and are less likely to lose your entire supply to a short unlucky streak.
Raise the multiplier temporarily when you are close to a valuable event milestone and can calculate how many successful results you still need. For example, taking a controlled risk can make sense when the next reward returns a large number of rolls, contains a rare sticker pack, or completes another event at the same time. The common mistake is leaving x25, x50, or higher active after claiming the reward and burning through the remaining rolls without a clear target.
Before starting a long rolling session, check the tournament, the main progress bar, pass missions, and any temporary side event. The best sessions are usually the ones where an Attack, Steal, raid, special double, or collected event item advances more than one objective. One set of rolls can then produce tournament points, milestone rewards, pass progress, coins, and sticker packs instead of feeding only a single reward track.
This matters most for F2P and low-spend players because rolls regenerate slowly and act as the fuel for almost every other resource. Avoid spending thousands of rolls simply because one event is visible. If its next reward is small or too far away, stop and wait for a better overlap rather than chasing a milestone that costs more rolls than it returns.
Coins sitting in your balance can be taken through Steal and raid mechanics, so use a large payout to make meaningful kingdom progress before closing the game. This is particularly important after a high-multiplier Steal or tournament reward. A large balance may look useful for the next session, but it also gives other players more value to take while you are offline.
Try to build in concentrated sessions instead of buying one upgrade and leaving the rest of the kingdom unfinished for hours. If possible, enter the session with shields, spend enough coins to complete several expensive stages, and push toward the kingdom-completion reward. The mistake this avoids is being exposed on both sides: holding stealable coins while also leaving partially upgraded structures available for attacks and repair costs.
Watch the shield counter while rolling and avoid ending a session with empty protection when your kingdom still has buildings on the board. Each shield blocks an incoming attack. Once the shields are gone, successful attacks can damage structures and force you to spend coins repairing progress you have already paid for.
Extra shield results may be converted into another reward when your shield storage is already full, so you do not necessarily need to stop rolling the instant you reach the cap. The practical goal is to finish the session protected, not to keep chasing shields after your useful event rewards are exhausted. A common early-game mistake is spending every last roll, ending with no shields, and returning to a damaged kingdom.
When an Attack begins, do not immediately tap the first building shown. Use the Friends or Revenge options at the top of the attack screen to check other available targets first. The Revenge list lets you respond to recent attackers, while the Friends list gives you more control over whom you hit. The target must be changed before selecting a building.
This is useful when the automatically selected kingdom is a poor target or when you would rather use the attack against someone from your Revenge list. Target switching does not guarantee that an attack will bypass a shield, but it prevents you from blindly committing a multiplied attack to the first player the game presents. That becomes more important when one attack consumes dozens or hundreds of rolls through the multiplier.
Do not spend a Wild Sticker on an ordinary missing sticker just because it completes a small set immediately. Common Stickers can be traded with Facebook-connected friends, and selected Gold Stickers may become tradable during a Golden Trading Day. Super Stickers cannot be traded or purchased at all; they normally have to come from an event or a Wild Sticker.
For most players, the safest use of a Wild Sticker is a missing Super Sticker, especially one blocking a high-value set near the end of an album. A difficult Gold Sticker can also be reasonable when the album is about to expire and no relevant Golden Trading Day appears. The mistake is using the Wild early, then discovering that the album’s final missing card is a Super Sticker nobody can send you.
Choose a team where members actually request and send rolls, participate in team quests, and remain active during Team Treasure-style events. Teams can contain up to 50 players, but member count alone says little about how useful the group will be. A smaller active team can provide more consistent assistance than a full team filled with inactive accounts.
Use the message board and roll-request feature whenever the cooldown allows, and send rolls back to other members rather than treating the team as a one-way reward source. If requests go unanswered and group events barely move, leave and look for a more active team. Remaining in a dead team means giving up repeatable free rolls and team-event progress without receiving any advantage in return.